The Ultimate Guide: How to Light a Match Safely and Confidently
Knowing how to light a match seems like a fundamental skill, almost a relic of a bygone era, yet it remains surprisingly essential. From lighting a birthday candle or a cozy fireplace to starting a campfire or a gas stove, this simple flame is the first step. But for many, striking a match isn’t a confident flick; it’s a moment of hesitation.
Will it snap? Will it fizzle out? Will a spark fly and burn my hand or, worse, start an accidental fire?
This apprehension is common, and it comes from a lack of formal instruction. We’re expected to just know how to do it. The truth is, there is a right way and a wrong way to light a match. The right way is safe, efficient, and consistent. The wrong way is a recipe for broken matches, minor burns, and potential hazards.
This comprehensive guide is here to bridge that gap. We will break down the entire process, from the anatomy of a matchbox to the final, safe extinguishment of the flame. You’ll learn the physics of the strike, the common mistakes to avoid, and the safety protocols that should become second nature.
And to make this skill truly portable, we’ve compiled all these steps into a beautifully illustrated PDF guide. You can download it, keep it on your phone, or print it out for your emergency kit.
Understanding Your Tool: The Anatomy of a Match
Before you can master the skill, you must understand the tool. Not all matches are created equal, but the most common type you’ll find is the “safety match.”
The name itself gives a clue: it’s designed with safety in mind.
- The Match Head: This bulbous tip contains the primary chemicals, typically potassium chlorate (an oxidizer) and sulfur (a fuel), mixed with a binder and glass powder for friction.
- The Striking Surface: This is the rough, dark strip on the side of the box. It’s not just sandpaper; it contains red phosphorus, glass powder, and a binder.
The “safety” mechanism is brilliant: the match can only ignite when the chemicals on the head (oxidizer) and the chemicals on the strip (fuel) are combined through the heat of friction. This is why you can’t strike a safety match on a zipper, a rock, or your boot—a common trope in movies that almost always features “strike-anywhere” matches.
“Strike-anywhere” matches, which have the phosphorus built into the head, are less common today precisely because they are less safe. They can ignite accidentally if they rub against each other in the box or are dropped on a rough surface. For this guide, we will focus exclusively on the safer, more common safety match.
How to Light a Match Safely: A Step-by-Step Breakdown
Follow these steps precisely, and you will achieve a perfect, safe ignition every time. The key is to be deliberate and confident.
Step 1: The Grip (Control and Confidence)
Your grip is the foundation. Hold the matchstick firmly between your thumb and your index finger, about halfway up the stick. Some prefer using their thumb and middle finger. The key is control. Your grip should be firm enough that the match won’t wiggle, but not so tight that your fingers tense up.
Point the match head away from your body. You should be looking at the side of the stick, not the tip. This is the first rule of fire safety: direct the potential flame away from yourself.
Step 2: Secure the Box (The Most-Missed Safety Step)
This is the step that separates amateurs from experts. Before you strike, close the matchbox or, at the very least, cover the opening with your fingers.
Why? When you strike the match, it can create a shower of small sparks. If the matchbox is open, a single spark can fall into the box and ignite all the other matches at once. This results in a small, intense flare-up that can cause serious burns to your hand. Always secure the source before you create a flame.
Step 3: The Strike (Motion and Pressure)
This is the moment of action. Press the match head firmly against the striking surface. You need solid contact.
The motion should be a single, fluid strike away from your body. Think of it as painting a single, fast stripe. Don’t “scrub” the match back and forth. This is a common mistake that causes the head to crumble or the stick to break.
The two biggest mistakes here are:
- Too Little Pressure: You’ll just skid over the strip, polishing it smooth and making subsequent strikes harder.
- Too Much Pressure: The matchstick will snap, often sending the ignited head flying—a major fire hazard.
It takes a little practice to find the “sweet spot” of pressure. Be firm, be confident, and move in one direction.
Step 4: Protect and Angle the Flame
The instant the match ignites—and it will be instant—the chemical reaction produces a fast, hot flame. Immediately cup your other hand around the flame (without touching it) to shield it from any breeze.
Then, tilt the matchstick slightly downward (about 45 degrees). This is crucial. Fire burns upwards. By tilting the match down, you allow the flame to “climb” up the wood, using the stick itself as fuel. This creates a steadier, more reliable flame. If you hold the match perfectly upright, the flame has nothing to “catch” and will often burn out the head and extinguish itself.
Common Match-Lighting Mistakes (And How to Fix Them)
If you’re still struggling, you’re likely making one of these common errors.
- The “Hesitant Flick”: You move the match too slowly or “flick” it with your wrist instead of using your whole arm for a smooth drag. The Fix: Use a deliberate, steady, and quick motion, like drawing a line.
- The “Broken Stick”: You’re pressing too hard or striking at a 90-degree angle. The Fix: Brace your index finger along the stick (but not on the head!) to support it. Strike at a 45-degree angle to the box, not straight into it.
- The “Fizzle-Out”: The match lights but goes out immediately. The Fix: You’re not angling the match down after it lights. Let the flame catch the wood. You might also have old or damp matches.
- The “Dangerous Strike”: Striking towards your body or over the open box. The Fix: Never do this. Always close the box and strike away. It’s a non-negotiable safety rule.
The Final, Critical Step: How to Extinguish a Match Safely
Your responsibility doesn’t end when the candle is lit. A match that is “mostly out” is a severe fire hazard. The smoldering ember at the tip can easily re-ignite when it hits a flammable surface like a dry napkin in a trash can.
Method 1 (Best): Water
The safest way to extinguish a match is to dip the head in a cup of water. It’s instant and 100% effective.
Method 2 (Common): Blowing it Out
If water isn’t available, blow out the flame. But you’re not done. Look at the tip. Do you see a red, glowing ember? If so, it’s still hot enough to start a fire. Wait until the ember is completely black.
Method 3 (The Check):
Once the match is cool, run the blackened tip between your fingers. It should be cold and crumble to ash. This is your final confirmation. Only then is it safe to discard. Never throw a hot match into a wastebasket.
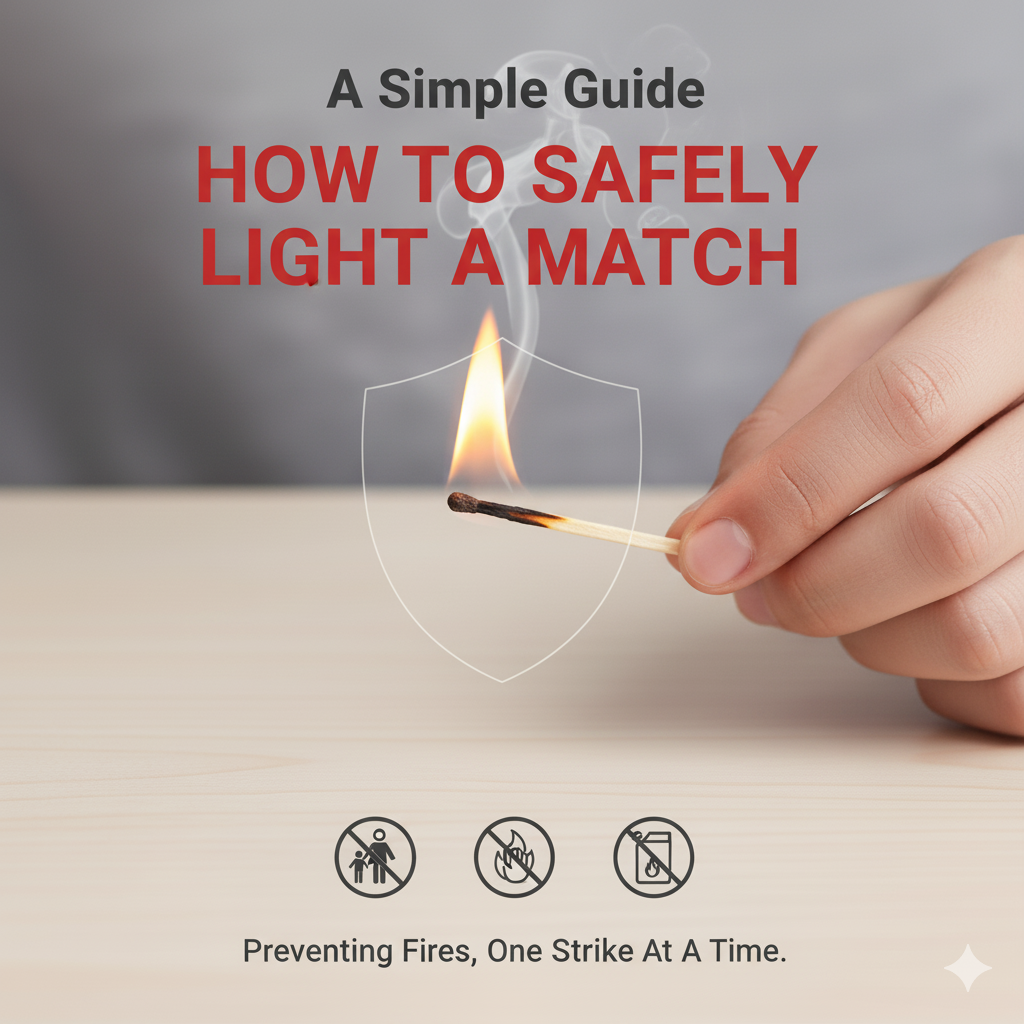
Master the Flame with Our Illustrated Guide
Reading is one thing, but seeing it is another. To make this essential skill unforgettable, we’ve created “A Simple Guide: How to Safely Light a Match” in a clean, illustrated PDF format.
This download is perfect for:
- Teaching your children the right way.
- Printing for your emergency preparedness kit.
- Keeping on your phone for a quick refresher before a camping trip.
- Anyone who wants to master this timeless skill with confidence.
Don’t leave it to chance. Buy your guide today and handle fire with the respect and skill it deserves.
Reviews
There are no reviews yet.